I found an old chisel in the basement that obviously had been used and sharpened many times. It was completely useless because id both lacked saharpness but also that it was rounded and couldn’t be aligned to the wood I intended to remove.
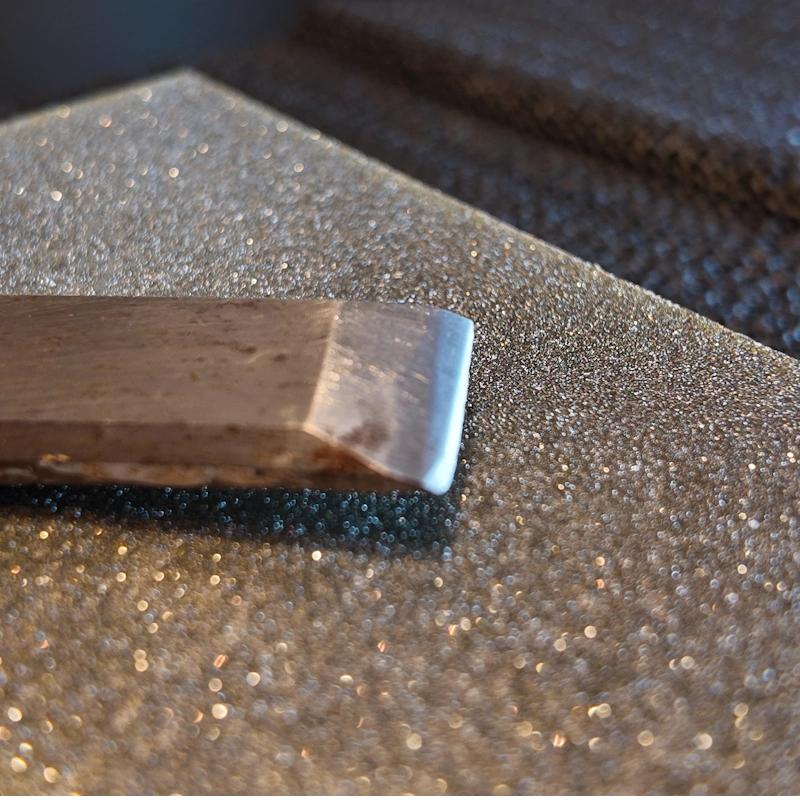
So I got the idea to sharpen it and take microscopic images along the way. These were taken at 70x magnification and hopefully capture the transition from rough to superfine whetstone and the shrinking of the groves from the diamonds.
The key takeayway for me was to hone longer then I think before moving on to a finer grit (smaller diamonds), because it actually takes some time to remove the material that makes up for the top of the groves and reach the bottom of them where the smaller diamonds then of course create their own grooves.
The grinding times was approximately:
- 150 micron (100 Grit) – one hour! Do note that I had to remove lots of material to reach a flat surface and meet the edge
- 60 micron (300 Grit) – two minutes, but should have spent five and done lapping already on this coarseness
- 30 micron (600 Grit) – one minute, but should have spent five and done lapping
- 15 micron (1200 Grit) – 30 seconds, but again should have spent five and done more lapping
So what did I achieve and why should you bother watching the video? Well below is the chisel edge after making the transition from 100-12oo Grit
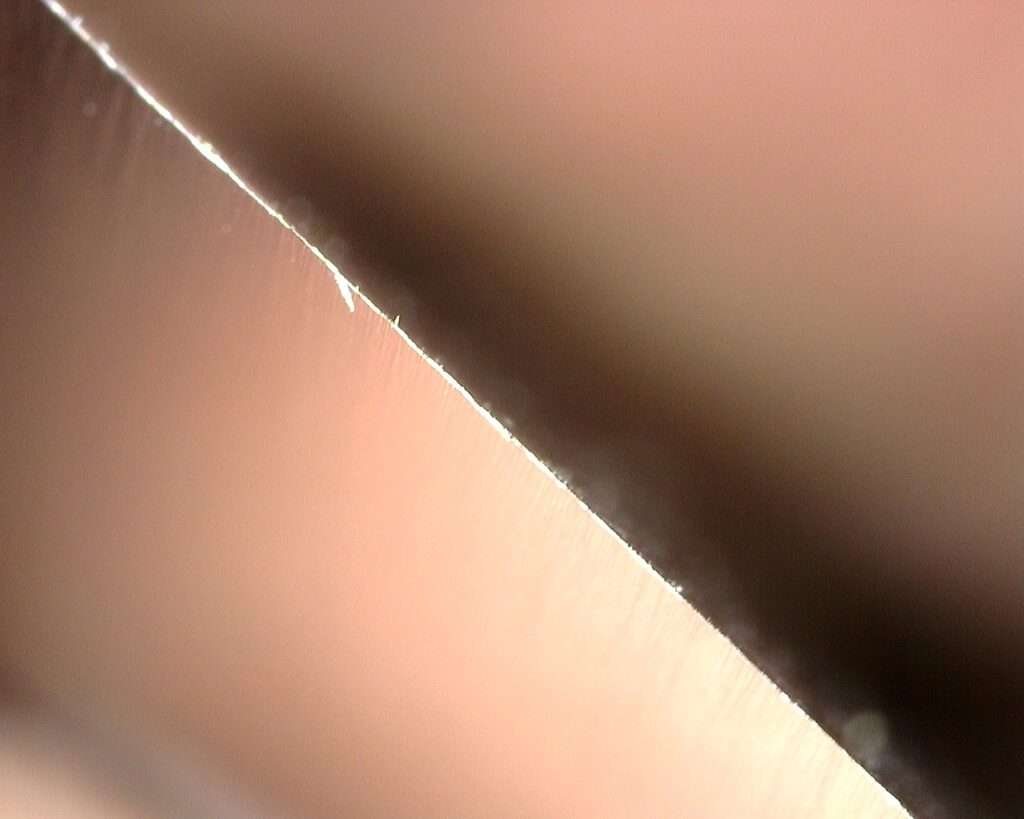
After this of course we need to polish more with leather and polishing paste, but it’s a very good start and already really sharp. Anyway below is the condensed progress of the process, a litle less then 3 minutes long. I hope you like it!
